Crack Tester
A crack in any material is a point of weakness, and any forces placed on it can cause the fracture to grow, resulting in shearing and splitting. Cracks can form during the manufacturing process, as a result of inadequate welding, or as a result of forces exerted on the equipment during use. It’s the most serious form of a flaw in a weld, and it needs to be fixed. Cracks not only diminish the weld’s strength by reducing the cross-section thickness, but they can also easily propagate through stress concentration at the tip, particularly under impact loading or in low-temperature service.

Crack Depth Gauge
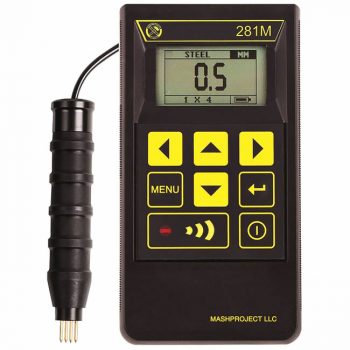
Crack depth meter 281M – High-precision instrument for measuring the depth of cracks exposed on various metals and alloys (incl. stainless steel, duraluminum), previously detected by other methods.
The operating principle of the Crack Depth Meter – AC electro potential measuring that provides prompt and precise depth test (in comparison to traditional methods).
The device is the most efficient in combination with other crack-revealing methods: magnetic particle, capillary or eddy-current.
Magnetic Eddy Current Flaw Detector
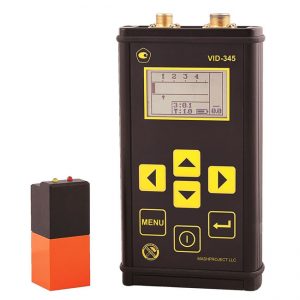
Magnetic-eddy current flaw detector VID-345 is intended for detecting cracks and measuring their depth, detecting stress- corrosive cracks in metal ferromagnetic constructions, even under layer of corrosion and/ or protective coating.
Flaw detector enables to measure depth of corrosive damage as well as thickness of protective coating.
The device combines magnetic and eddy-current methods for flaws detection, which enables the user to control products with rough corroded surface and to measure through the layer of insulating coating of variable thickness without any additional readjustment.


